How to Contour Your Face for Beginners: A Simple Step-by-Step Guide
Contouring looks like magic on social media: sharp cheekbones, a slimmer nose, a defined jawline — all from makeup. But for beginners, it can feel intimidating. Which shade? Where does it go? And why does it sometimes look like muddy stripes?
The truth is that contouring is simpler than it looks. With the right shades, a few basic placements, and good blending, anyone can do it. Here is how to contour your face for beginners, step by step.
What Is Contouring?
Contouring is a makeup technique that uses darker and lighter shades to shape the face. Dark shades create shadows, making an area look smaller or more defined. Light shades — highlighter — bring an area forward and make it stand out.
Together, they add dimension to your face. Foundation evens out your skin tone, but it can also make your face look flat. Contouring brings back the natural shadows and highlights, so your features look more defined in photos and in real life.
Choose the Right Shades
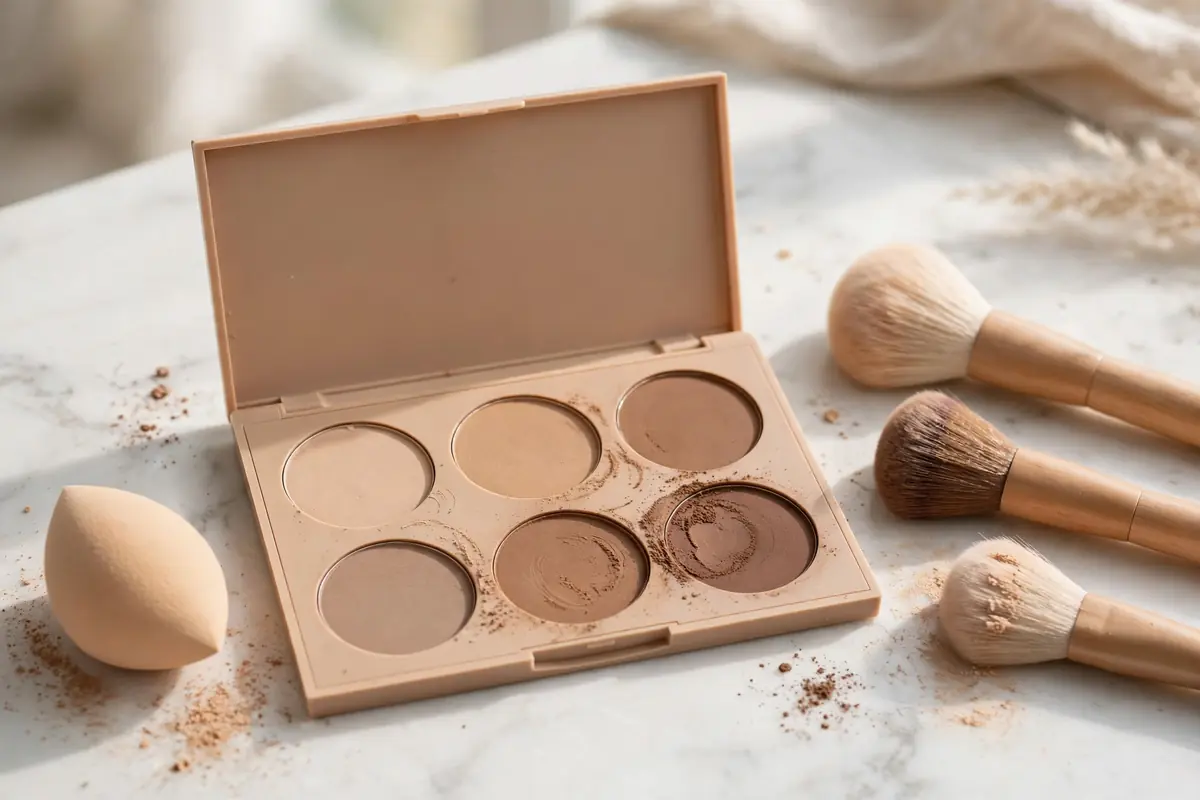
The most important rule of contouring is choosing the right shade. Your contour shade should be one or two shades darker than your skin tone, with a cool or neutral undertone — never orange. A shade that is too warm looks like bronzer, not a shadow.
For fair skin, a taupe or light brown works best. Medium skin suits a warm brown, and deep skin needs a rich chocolate or espresso shade. Your highlighter should be one or two shades lighter than your skin, with a soft shimmer or a matte finish for daytime.
Tools You Need
You do not need expensive tools to contour well. A contour stick or cream is the easiest product for beginners because you can draw it on directly and blend it out. Powder contour is also good, especially for oily skin, and it is harder to overdo.
For blending, a damp makeup sponge gives the most natural finish, while a dense angled brush works well for precise placement. A fluffy brush is best for powder contour and for softening edges. Start with one cream product and one sponge — that is all you need to learn.
Where to Apply Contour
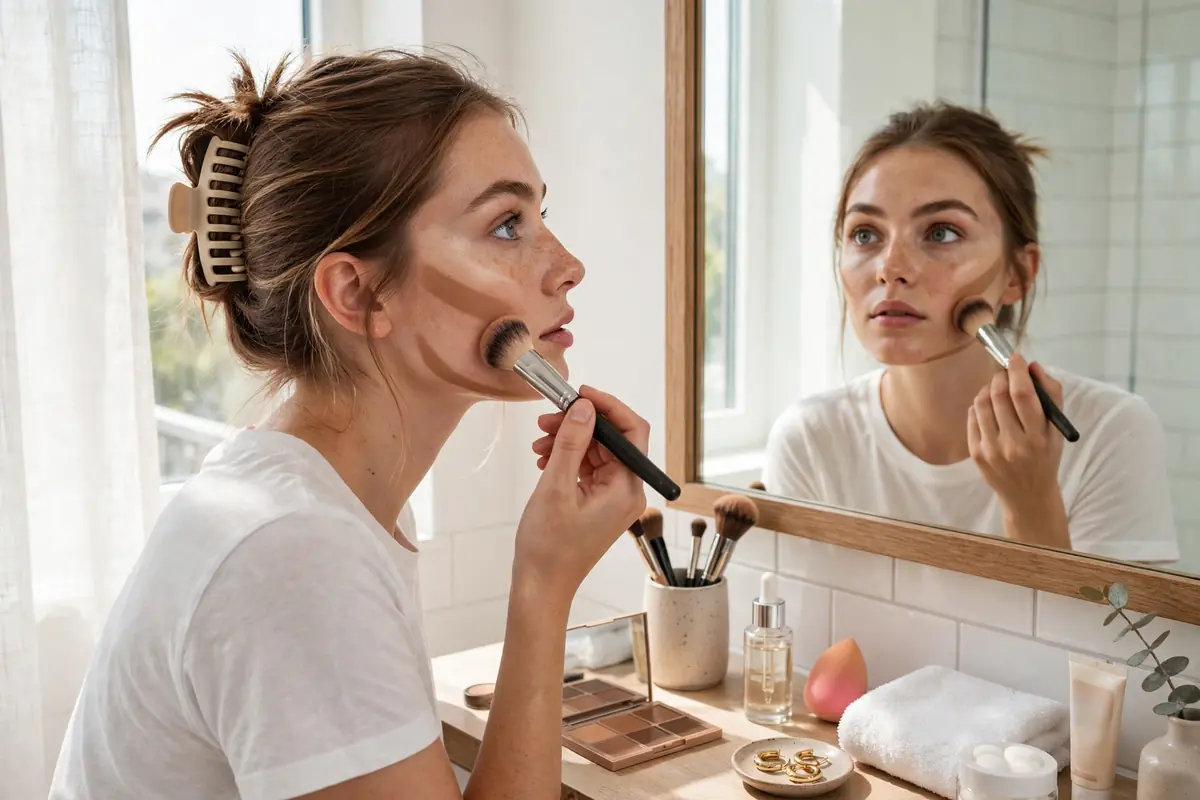
Contour goes where shadows naturally fall on your face. Start with the hollows of your cheeks: suck in your cheeks slightly, and apply contour along the hollow line from your ear toward the corner of your mouth — but stop two finger-widths before your mouth.
Next, apply a thin line along the sides of your nose to make it look slimmer, and a small amount under the tip if you want it to look shorter. Add contour along your jawline and under your chin to define the jaw, and a little along the hairline if you want your forehead to look smaller. Less is more — start with a small amount and add if needed.
Where to Apply Highlighter
Highlighter goes on the high points of your face, where light naturally hits. Apply it to the tops of your cheekbones, down the bridge of your nose, on your brow bone under the eyebrows, and on your cupid's bow above the lip.
A small dot on the inner corner of your eyes also makes them look brighter and more awake. Use a light hand — highlighter should look like a soft glow, not a stripe of glitter. For daytime, a matte or satin highlighter looks more natural than a sparkly one.
Blend, Blend, Blend
Blending is what separates good contouring from bad contouring. Unblended contour looks like stripes; blended contour looks like natural shadow. Use a damp sponge and bounce it over the contour lines in small tapping motions — do not drag or wipe, which moves the product around.
Blend the edges until you cannot see where the contour starts and ends. Check your work in natural light if you can, because bathroom lighting can hide harsh lines. If you blended too much and the contour disappeared, just add a little more and blend again.

Common Contouring Mistakes
The most common mistake is using a shade that is too dark or too warm, which looks muddy instead of shadowy. The second is applying too much product — contour should be subtle, especially for everyday makeup.
Another mistake is contouring in the wrong place, like placing cheek contour too low, which drags the face down. And never skip blending: even the perfect shade looks wrong if the edges are harsh. Practice on a day you are staying home, so there is no pressure to get it right the first time.
Practice Makes Perfect
Contouring is a skill, and like any skill, it gets easier with practice. Your first try might not be perfect, and that is completely fine. Take a photo after you finish — the camera shows harsh lines and uneven blending more clearly than the mirror.
Start with a cream contour stick, a damp sponge, and a light hand. Learn the placements, blend well, and keep it subtle. Within a few tries, you will have a routine that takes five minutes and makes your features look beautifully defined.